|
|

|

|

|
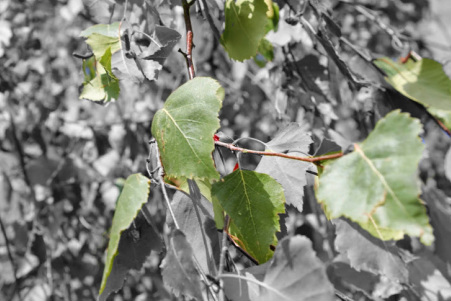
Edited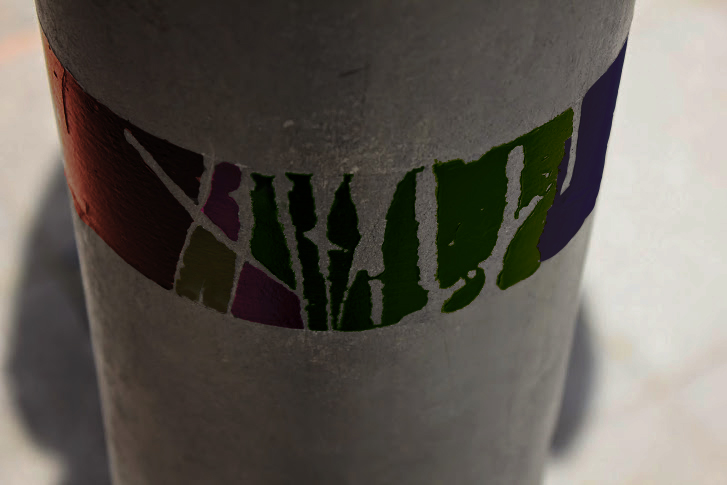
|
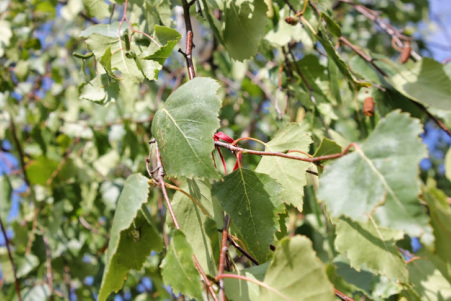
Original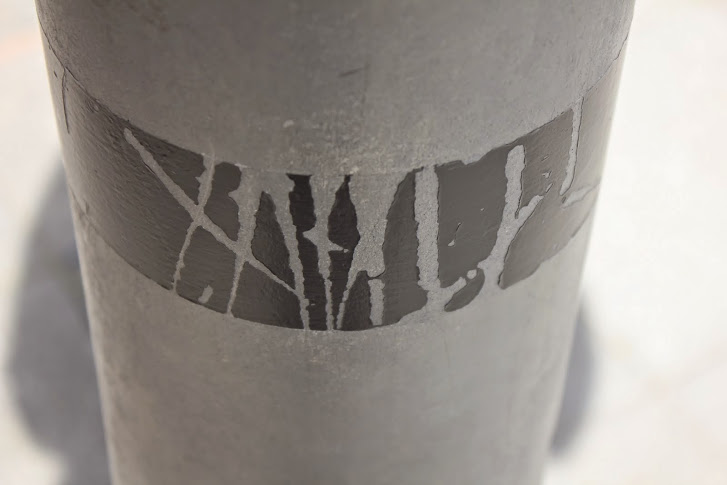
|
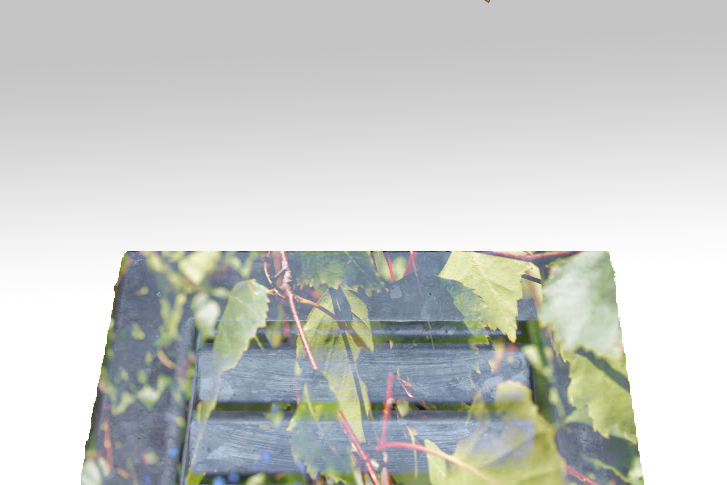


How I made the edits
First of all I imported the image into photoshop and it created a new canvas in a new tab. I then added a mask layer over the original image which created I then duplicated on a new layer, and made it black and white. I can then use the Eraser Tool and the Brush Tool to add or remove colour. I used the Wand Tool to select different areas of the image so when adding or removing colour it didn't effect part of the image that I didn't want it to. I then repeated this several times for different leaves to create this effect. Once this was done I felt like there needed to be more colour because there was only green. Therefore I changed the size of the Wand Tool and selected the branches, I feel like this helped to add a lot more detail to the image to contrast the green with the brown.
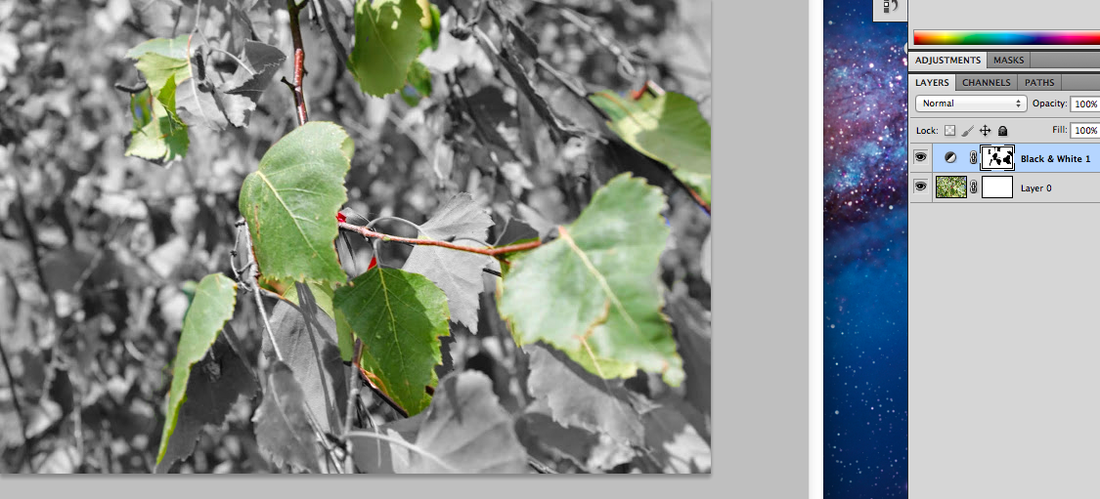
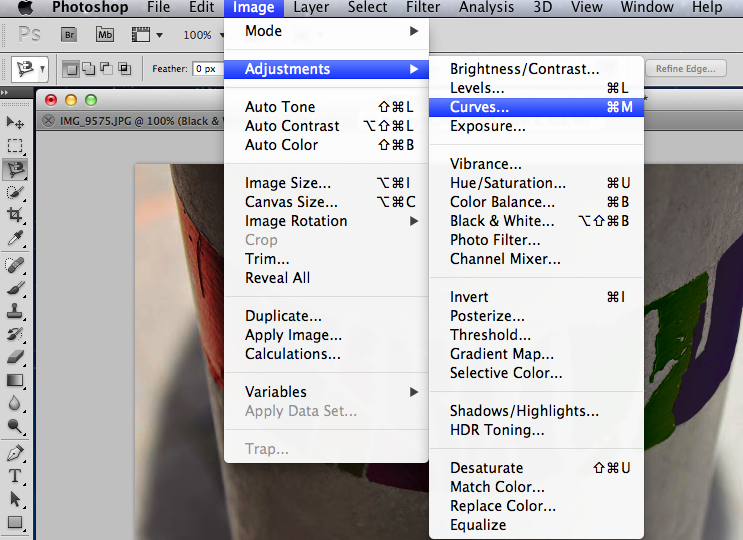
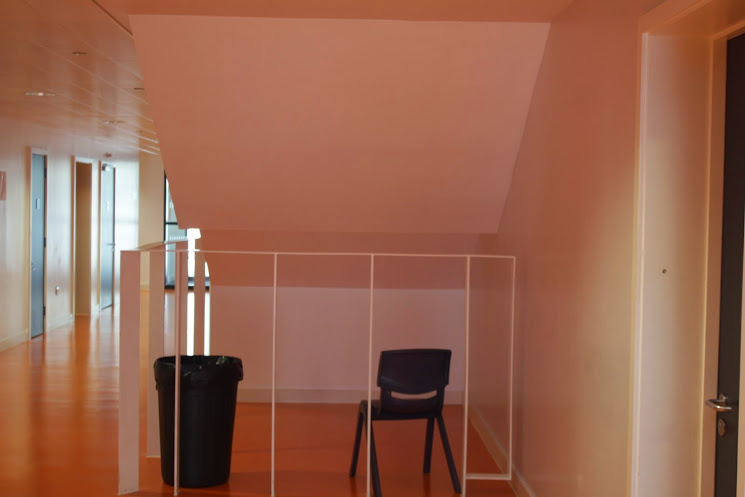
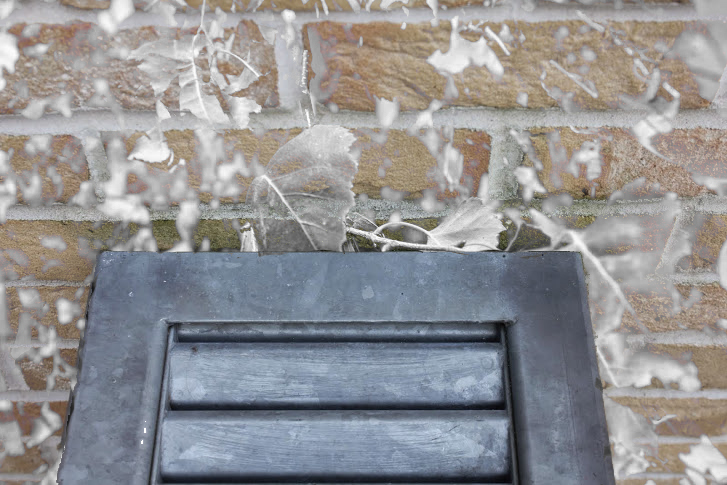
Image 2
Like the first image, I imported this image into Photoshop which opened up a new canvas, however it was on the same layer as the image. I used the Wand Tool to select all of the black parts of the image. It was selected other parts of the image that I didn't want to change the colour off so instead of refining the edge, I used the Lasso Tool, this lets me manually select the area which is accurate but takes longer to do. When the different areas were highlighted I went onto Image - Adjustments - Curves then I was able to change the red, blue and green pigments in the image. I made sure all of them were different so there was more to the image.